
Let's start at the beginning.
Here is the living room just after closing, exactly the way we bought it:
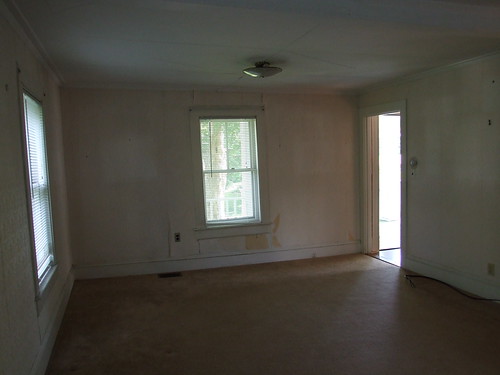

The walls were covered with peeling, stained wallpaper. The ceilings had these horrible, weird panels with odd designs etched into them. The light fixtures were old and covered in dust. It was dingy and dark, and I had more than one thought of "why in the world did we buy this dump?"
So, we started ripping down wallpaper.
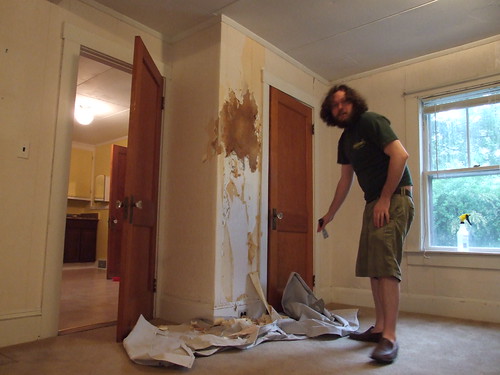
This sounds simple. But it wasn't. Layer after layer after layer, and we weren't getting anywhere. Chemicals, steamers, and scorers... it was taking forever.


At this rate, we would be lucky if we finished one room in a year. And every single room in the house was just like this one. This is when we realized we needed some help.
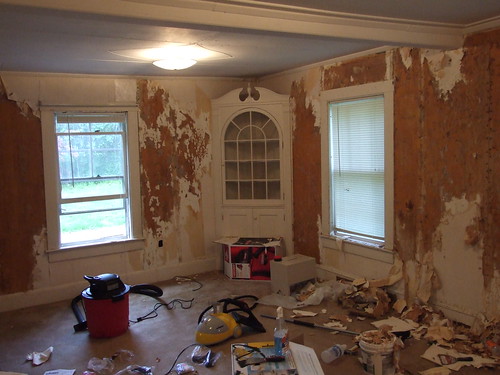
We brought in a contractor, who informed us that what we thought was the drywall beneath the last layer of wallpaper (the brown in the photos) was actually a thin layer of gypsum board. Beneath that gypsum was even more wallpaper, on top of solid wood beadboard. Fourteen layers of wallpaper in total.
Let me take a moment here to mention that our house was built around 1920. Now, I'm no mathemetician, but from my calculations 14 layers of wallpaper means that there was a new layer of wallpaper added every six years. Every six years! These people were seriously wallpapering junkies.
So we switched gears, and we started ripping down the gypsum board.
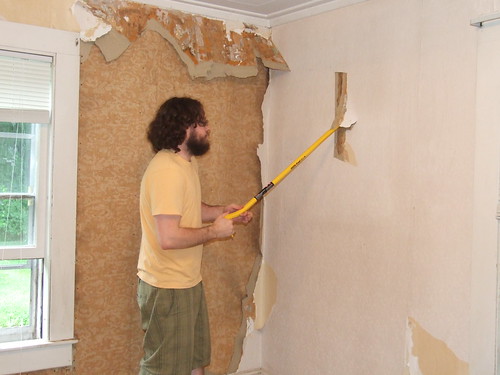
Branden is using our favorite tool, the Fat Max crowbar, to dig in to the wall.
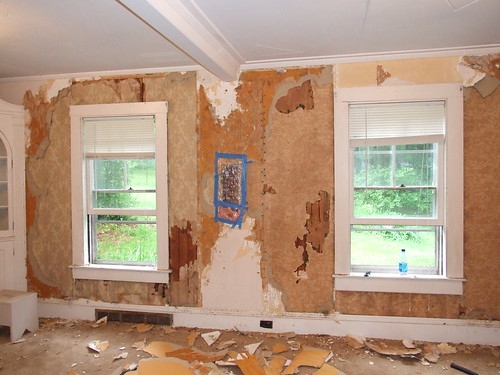
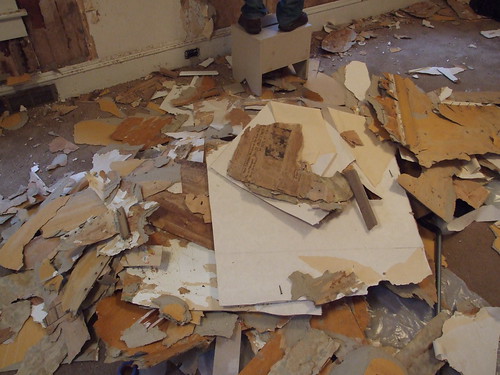
You can see the solid wood beadboard peeking out from underneath the last layers of paper. We found that the very last layer was actually newspaper, which was used as insulation back then. The pages were from a 1921 edition of the Boston Sunday Post. I saved the front of the sports section, which included a headline declaring the grand opening of the Yankees' new ballpark. I plan on framing it as a memento of this crazy undertaking.
Here's a debris pile with some of the newspaper pages on top:
Once we got all of the gypsum board off, we were able to pull down those horrible ceiling tiles and put up some modern, flat sheetrock. We also chucked the built-in china cabinet that once lived in this corner of the room. Since it wasn't original to the house and was made of cheap particle board, it was an easy decision. We gained a lot of space in that corner by getting rid of it.
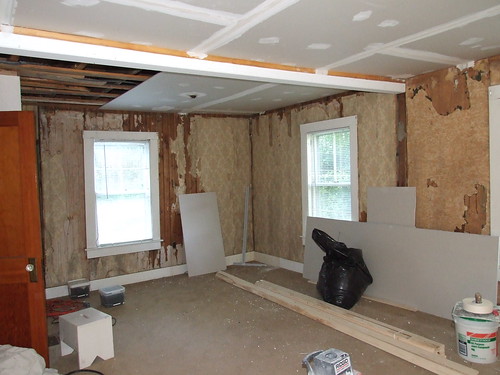
Next came drywall on the rest of the walls.
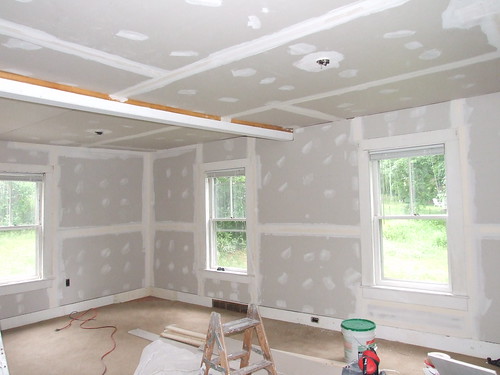

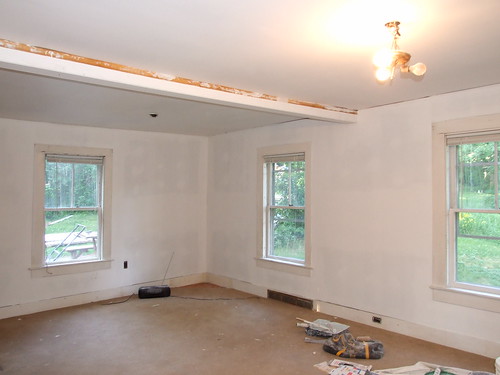
Once the drywall was mudded and sanded a few times, the primer was able to go on. This alone brightened the room up so much. Things were starting to come together.
Then the most exciting part: paint color!
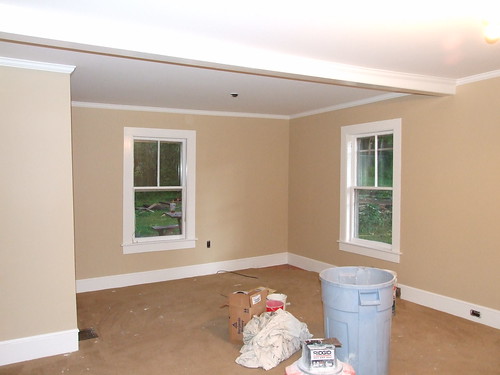

We chose Benjamin Moore's Shaker Beige. I love the color so much and highly recommend it. The tones are deep and lovely, and it changes throughout the day. The room was topped off with gorgeous crown molding.
It took so much work, I can hardly believe how far the room has come. Let's go back again to the beginning, just to fully appreciate the transformation.
Before
After

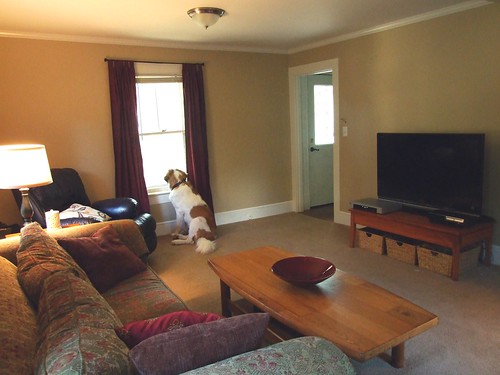
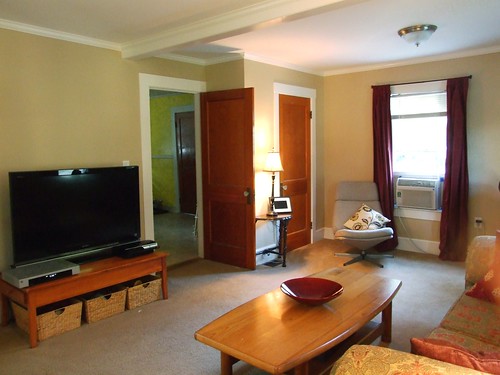
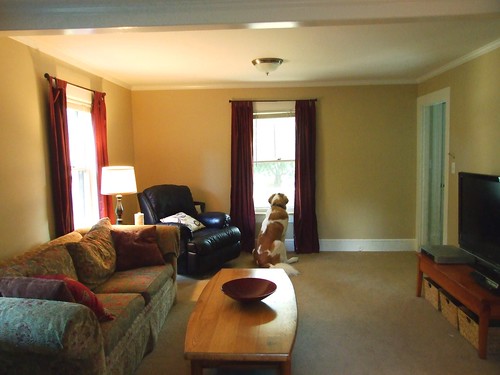

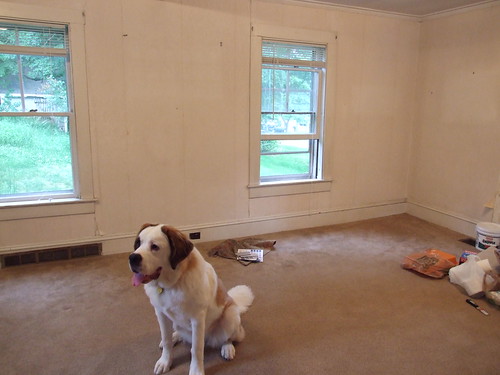
Lucy is obviously thrilled with the way things turned out! I couldn't be happier either. The room is warm, inviting, comfortable... everything you want in your home. Looking back at what we started with and where we are now, I truly believe that anything is possible. There's still more to do, of course, but for now I'm happy to just be enjoying this room and planning out where holiday decorations are going to go in a few months... :)
Hilary! It looks like you guys have been busy! It looks amazing! And Lucy most definately loves it :) I'm so glad you write this blog! I write one too, but not very often. And remember, I'm a Math girl, not and English girl like yourself - so no judging on my poor grammar! Can't wait to read more! -k
ReplyDeleteThanks Kimberly! Your blog is super cute! And holy crap, CONGRATS!! I didn't know you were pregnant! So exciting!! Are you going to find out whether it's a boy or girl, or go for a surprise?
ReplyDeleteWow! I can't imagine that much wallpaper. Looks great!
ReplyDeleteWow, just looking at the pictures makes me exhausted! It doesn't look like the same space now. Great job!
ReplyDeleteUnbelievable transformation. I know, I've seen it in person and it's all true. :) Looking forward to seeing the holiday decorations soon. Please continue the blog...it's so much fun to read!
ReplyDeleteThanks for all the love! My question is, when is it too early to put pumpkins out...? :)
ReplyDeleteThis living room looks great! I think that gypsum board is such an easy and relatively inexpensive material to work with. Before redoing my own living room, I made sure to check out McGraw hill's Sweets Directory of construction products to get the essential information I needed before beginning. Though I do work for them now, they have honestly been really helpful in all of my home improvement projects. I love the CAD details you get from their site. You should take a look.
ReplyDeleteGreat transformation! I will also take time to transform my living room.
ReplyDeletetotal transformation reviews
Do you remember what paint color you used for the trim? Thanks!
ReplyDeleteHey Krysti--we used Benjamin Moore Ultra Pure White for the trim. I think it's a very common trim color!
ReplyDelete